Sorry this is getting posted so late in the day, but it IS still Monday. Our parents were here visiting me (Teri) this weekend, before heading down to Micki’s so I didn’t get the post written to autopublish, and today just got away from me.
I promised yesterday that there would be more in a future post about the costumes I made for my kids for Halloween. I will only say that there were many many swear words running through my mind, and only one or two made it out of my mouth. Here’s the auspicious start:

Ummm, yeah, how do you fit a round waist into a square opening? Okay, first confession, I don’t really sew. I enjoy sewing, but I am not a very good seamstress. Second confession, I attempted to make a poodle skirt without a pattern, because, let’s face it, who wants to pay $12 for a Halloween costume pattern. How hard could it be to cut a circle with a circle in the middle? Ummm, yeah, you can see above, apparently really hard. I ended up cutting this piece down to use to make a skirt for my 4 year old niece and buying a new piece for my daughter (explains why they are different colors). I also discovered that the patterns were on sale for 99¢ so I bought one. It made it a lot simpler (although I left out the waistband and just sewed some ribbon on the top). She wanted something a little different than a poodle, so we decided on stars (whew, much easier) which I adhered with Wonder Under. I also used the skirt pattern to cut out the ghost. I just cut the neck hole smaller. I improvised the hat (I thought he needed big ghosty eyes). Lets face it, I had to put the BOO on the front so people wouldn’t think he was dressed as a member of the KKK. It was all good when I finished them because they both loved their costumes. Here’s some pictures if you didn’t see them before. (Keep reading after the pictures, so you can help solve this weeks mystery). So my only tip today....don't get in over your head :)


Today’s Mystery:
Micki has an old sewing machine that is built in a cabinet and it needs to be serviced. How is the best way to get this done (take it out and take it somewhere or have someone come to the house)? How much can she expect to pay approximately? Is it worth it?
Thanks for any help you can offer!!!
We always love to join a good party, so watch for edits as we link to them throughout the week:
Just for fun, we thought that we’d post pictures of our kids in their Halloween Costumes. Hope you enjoy!


Teri’s kids: yes I made these costumes, more about that in a future post.


 Trick or Treat Bag (idea courtesy of Sisters Stuff)
  I also really love to bake! Here are a few of my favorite goodies to make. White Chocolate Cheesecake Cookies
  Chocolate Peanut Butter Cupcakes
  S'mores Cupcakes
  I have an etsy shop where I sell all things baby girl! You can purchase hair bows....
 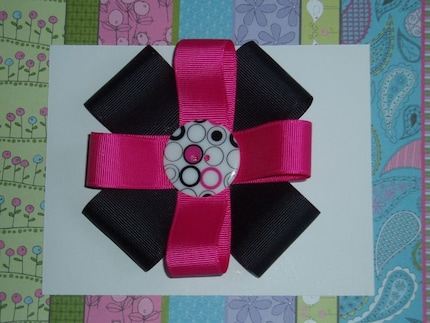 flower clips....
 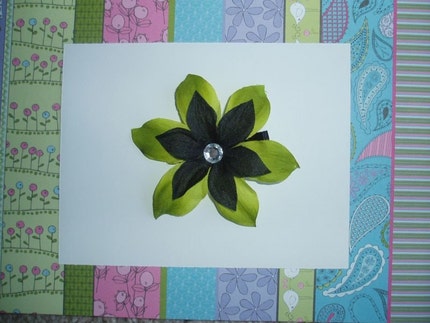 piggies....
 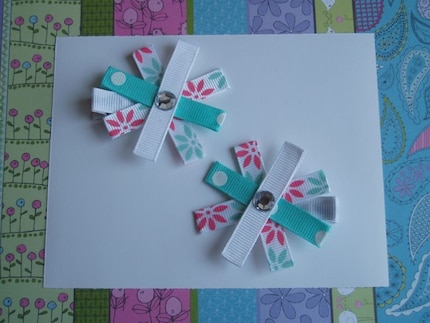 crocheted flower leggings....
 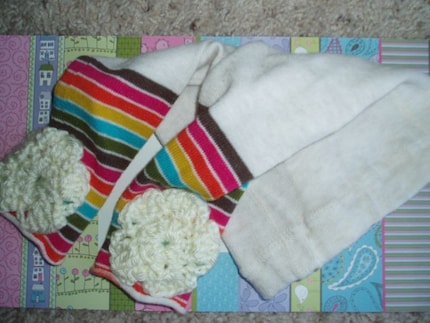 bracelets....
 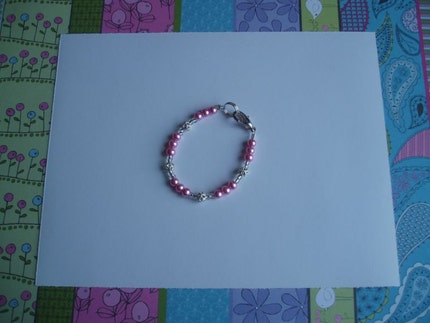 a set with a little bit of everything....
  or even a tutu!
 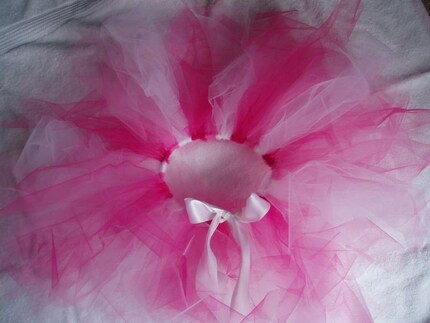 I have blog schedule, so you can find something different being posted every day of the week! Right now I am hosting a giveaway over at Pink Nothings! Be sure to go check it out to win a few things from my etsy shop! I'll be featuring some fun Christmas tutorials coming up, so come take a peek to get some great Christmas ideas! Come on over to Sumo's Sweet Stuff and let's be blogging friends!
 Thanks for swapping with me today ladies! You are amazing!
Thanks for swapping with us today Sumo, it has been so much fun!!! Congratulations on the babe on the way, that’s so exciting (especially to us since we are both Labor and Delivery nurses). Isn’t her stuff darling? And those goodies, almost had to lick the screen (highly discouraged though).
Now for the feature (THANKS STEPHANIE!!!):

I told you last week that my darling friend Anna would be back this week, and so today’s the day. A couple of weeks ago Anna and I were blogstalking and we stumbled onto this darling Halloween wreath. We knew we HAD to make our own. In this post Anna describes how she made hers, and shows you the finished project.
This was a fun Halloween project, so easy and inexpensive!
I got 2 yards of black tulle and one of purple and green each. If you are fortunate enough to live in a place that sells orange tulle nearby, I think that’s be fun to add, too – since the main colors of Halloween are orange and black!
I bought a 50 cent grapevine wreath from DI. It was spray panted bright gold. It was 50 cents… so whatever.
I used my hot glue gun and about 2 ½ sticks.
With my roller cutter, board and ruler, I cut all the tulle into about 4x4 squares.
As I started gluing the tulle on, I realized that the gold was peeking through. I didn’t want that so I used several 2 inch strips of scrap black fabric to wrap around the wreath.
By gathering a square of tulle into a point from the middle (imagine how you would put your pointer finger into a tissue so you could dab at your eyes…
This is not the greatest photography, but you get the idea of what I’m describing).
…And adding a dollop of hot glue to it, stick the point to the wreath. Hold for several seconds. Repeat. Many many times.
Till your finished product looks like THIS
Or something close to it, or even cuter! I’m still in the process of looking for the perfect embellishments to add, like some small pumpkins or bats. That’s the beauty in doing your own projects – the sky is literally the limit!
…And if you have a friend like Teri, your wreath can look as fun and frightening.
Her hand painted spooky eyeballs and dark gothic chain are the perfect accessories for my favorite Halloween decoration!
Happy Halloween all!
Isn’t she so cute!!! When she originally sent me this post she had mentioned that she wanted some embellishments and I was at Pier 1 and saw these and knew they would be perfect! I however wasn’t going to pay $5 a piece for them, so I made them of course! They are just Christmas ornaments that are spray painted black with eye balls painted on! I found the chain on clearance at Lowes and spray painted it black too. I love the way the masculinity of the chain contrasts with the femininity of the tulle. I used the technique of tying rather than gluing my tulle and ribbon on, like was mentioned in the inspiration piece. Here is how mine turned out. It’s fun how each can be so different when based on the same idea!
 HAPPY HALLOWEEN EVERYONE!!!
 We are participating in :
and Frugalicious Friday on Finding Fabulous
Remember these ghosts that we made with the kids?

They are hanging outside our house with some decoupage Halloween ornaments on our Halloween Trees (aka dead sticks we “planted” in the ground).


We made these as a family and they were fun and not too difficult. To find out how to make them, visit Blue Cricket Designs.


We also coated them with glow in the dark Mod Podge and sprayed them with polyurethane. Then we tied monofilament to the loops to hang them. Voile!
Close ups of some of my favorites:


This is about the extent of our outside decor, except for my favorite jack-o-lantern riding a spider which was pictured here.
We are joining Kimba @ A Soft Place to Land, click the button below and feast your eyes on all kinds of greatness!!!
and Halloween Suprise Party @ The DIY Show Off
Teri here with Tadpole Tuesday! First off I have to apologize for my kids in pj’s and the poor photography. The lighting in my condo is terrible, and so as a result, sometimes the pictures aren’t great. We had fun as a little family crafting these fun ghosts.

Here’s the supplies you need (monofilament isn’t pictured, but that’s what ours are hanging with):

Here’s the kids having fun with their creations:

 We're participating at A Soft Place to Land and Between Naps on the Porch (click the buttons below):