My daughter Emma’s room is a work in progress. I have had this project in the works for a while, and I LOVE how it turned out. It was fun to create.
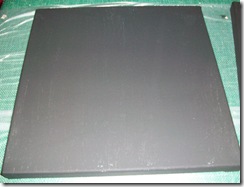
I started with a 12x12 artist’s canvas that I painted black.
(and yes my table is covered with Glad Press n’ Seal)
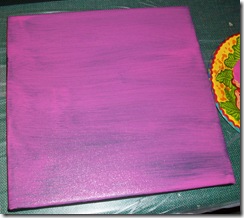
After this was dry I painted a light coat of pink over the top so the black still showed through.
As this was drying I cut 12x12 black cardstock down to 10.5”x10.5” and different patterned papers in color themes of pink/green/black down to 10”x10”. I mounted the patterned papers on the cardstock using Mod Podge. When the canvases were dry I used Mod Podge to adhere the papers to the canvas (with much smoothing and Mod Podge all over my hands). I then coated the whole front of the project with Mod Podge and let it dry.
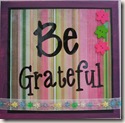
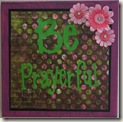
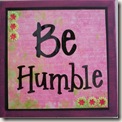
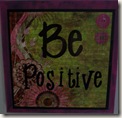
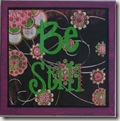
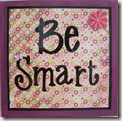
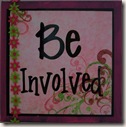
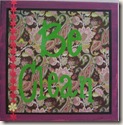
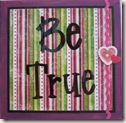
Once it was dry I use vinyl letters to make Pres. Gordon B. Hindkley’s '”“Be” phrases in black and green. Then I got to add the bling!!! I used various scrapbook and craft trim, flowers and rhinestones and used hot glue to adhere them.
They are going to be hung as a large grouping on an entire wall in her room. Here is how I think I will hang them, and suggestions of a better way to group them (they will have more space between them on the wall than they do here).
I had a lot of fun, and although some of them didn’t turn out the way I envisioned, I still love them
*This post is edited to reflect our participation in DIY Day @ A Soft Place to Land & Room A Month Makeover @ Shades of Pink
Anyone visiting from a McLinkey, we would love for you to check out the rest of the blog especially this weeks Mystery Monday post.


11 comments:
Cute project! I love custom artwork and it's so much more special because you make it yourself. I was reading your post above and, although I am not an insomniac, I am the same way when I get an idea. I can't sleep until I get it down on paper or get it done. I've actually gotten out of bed to go hang a mirror. :) Thanks for visiting and following my blog. Hope to hear from you in future comments.
Those are so cute and creative! Your daughter's going to love having them in her room, especially because you created them for her.
pk @ room remix
I seriously LOVE this!
I have a linky party going you may want to link up: http://theshadesofpink.blogspot.com/2009/10/room-month-great-pumpkin.html
I love them. I think they turned out great. What a fun way to remind our children and ourselves. Thanks for sharing.
Those are so cute!! I love that font too--what did you use???
Thanks!!! You mean what font did I use on the post or on the pictures? I use a program called Window's Live Writer to do the posts, and the font I downloaded free of the internet. I think it's called Ashley and I think it's from 1001 free fonts. The words on the hangings are cut from vinyl, but I have not idea what font they are, because a friend of mine cut them for me.
these are adorable! You did a great job! Very lucky girl!
thanks for stopping by my blog!
gail
Where did you get the vinyl letters?
These are the cutest things EVER!
Hey! it says my comment will be visible after approval! are you going to approve me? hehehehehehe
Fun project! I love vinyl lettering!
Hey FOLLOW desert dwellers!!
Could you send a little bit of that Dixie warmth this way? I know you got it. I have a Daughter & a Sis, that live in your neck of the woods!
My mom just lives south of them, so we get to spent a little time in your beautful area. My DH reminded me, WE have been to GUNLOCK! We went Pinenut hunting there YEARS agao! DUH! Well thanks so much for checking in with us "stockers", You have a great Blog, thanks for sharing. P.S. We also have a craft day in our Family. We call it "the sisterhood of the traveling Paints! IT IS a blast! This month we are going to do the Matchbook countdowns.
Post a Comment